
Navigation: Getting Started - Creating a logo from scratch
Creating a
logo from scratch
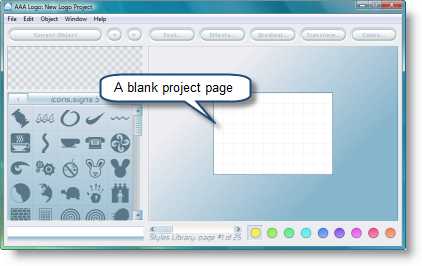
1. First, we're going to start
a blank project
Run AAA Logo 2008. The program starts into the "Template
Library" window where you can see the logo templates. We do not
need templates as we want to create our own logo. Press the "ESC"
button to close the "Template Library" and start a blank
project.
2. Second, we're going to
create a logo using the shapes
Before you start creating a logo from scratch, it's recommended
to think it over and make an outline of the logo. My concept of a
logo is this. I want to create three square shapes like the logo of
BBC (British Broadcasting Corporation) and put a letter into each
box. The letters correspond to the name of my company - "Technical
Communication - Europa" - TCE for short. Besides I want to add a
shape of a globe to show that my company provides my services
globally. Below the boxes there will be my URL address - www.tc-europa.com and my slogan - "We Write. You
Win." So, let's get started!
I choose Object > New Image from the "Object" drop-down menu
on the toolbar. A "New Object" dialog box opens:
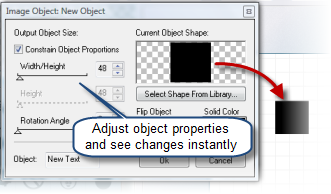
Now I can edit the first element of my logo - the box. I can
adjust its width and height by toggling the "Width/Height" slider.
Note all changes are reflected immediately on the canvas. Keep on
adjusting till you see the box you need. Now I choose the color of
the box - solid black. I can also rotate or flip the box and even
select a new shape from the "Select Shape From Library.." dialog
but it's not included in my outline and I keep these settings as
they are. Click "OK".
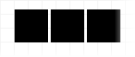
My logo has three similar boxes. I need to create two more
boxes. The simplest way is to make a copy of the current box and
paste them onto the canvas.
I choose Object > Duplicate Object from the "Object"
drop-down menu on the toolbar. A duplicate object is added to the
canvas. I repeat this operation again. Now I have three boxes on
the canvas. I arrange them using the mouse and the grid. The result
looks like this:
3. Third, we're going to create
add text to the logo
Now I should put three capital letters - T, C, E into the
boxes.
I choose Object / New Text from the "Object" drop-down menu on
the toolbar. A "New text" dialog box opens:
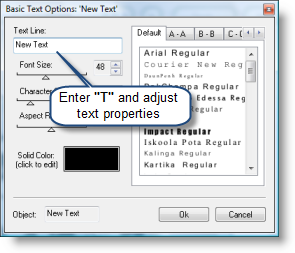
I enter "T" into the "Text Line" field, adjust font size, choose
color - solid white and select the font type from the font preview
window on the right. The font type is SF Old Republic Bold. The
letter is displayed on the canvas. I repeat the operation until I
have three letters in the boxes like below:

4. Forth, we're going to add a
new shape to the logo.
Now we add a globe to the logo as it is planned in the
outline.
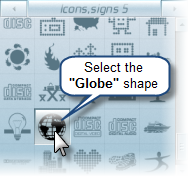
I browse through the "Shapes" library preview on the left of the
work area and in select the shape of a globe in the "Icons, signs 5" category. After
adjusting its color, gradient and effects and get the logo like the
one in the image below:

5. Fifth, we're going to
complete the logo with the URL link to our website.
Now I add the URL link to my website. It's easy.

Go File > Save Project and save a project for future editing.
That's pretty much you need to do.
You can also export the logo for print or web by using "Export Logo for Print" or "Export Logo for Web" option from
the "File" menu.
As you see, creating a logo from scratch is just as easy as from
templates. You can create a professional-looking logo in few clicks
but you should prepare the outline before you get started with the
logo design.
 Related topics:
 Create a logo from a
template
Create a logo from a
template
Open a logo for
editing